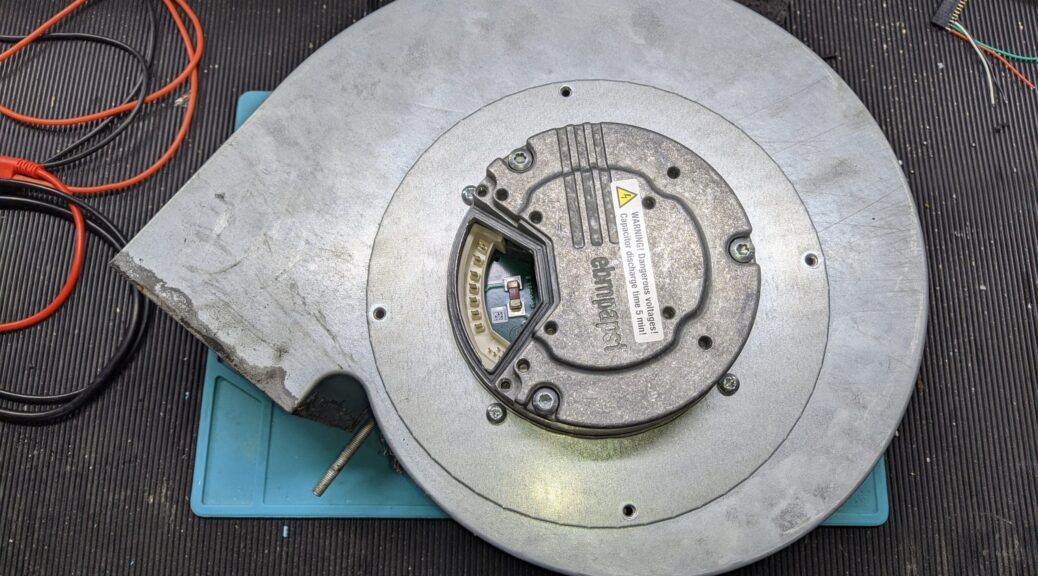
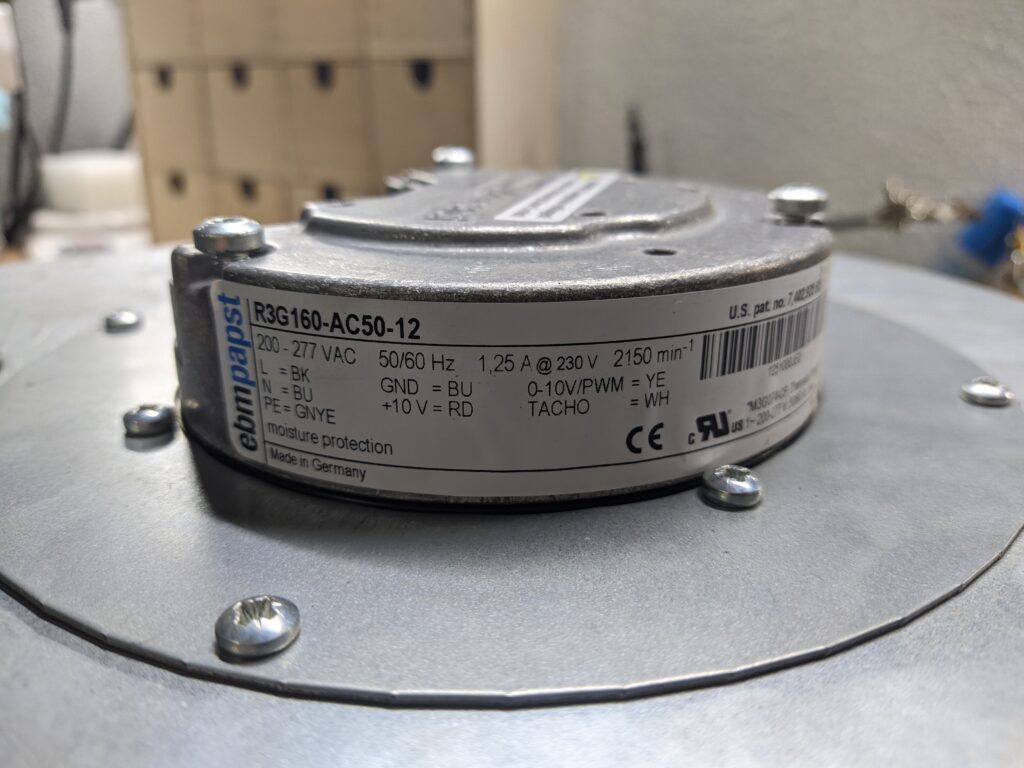
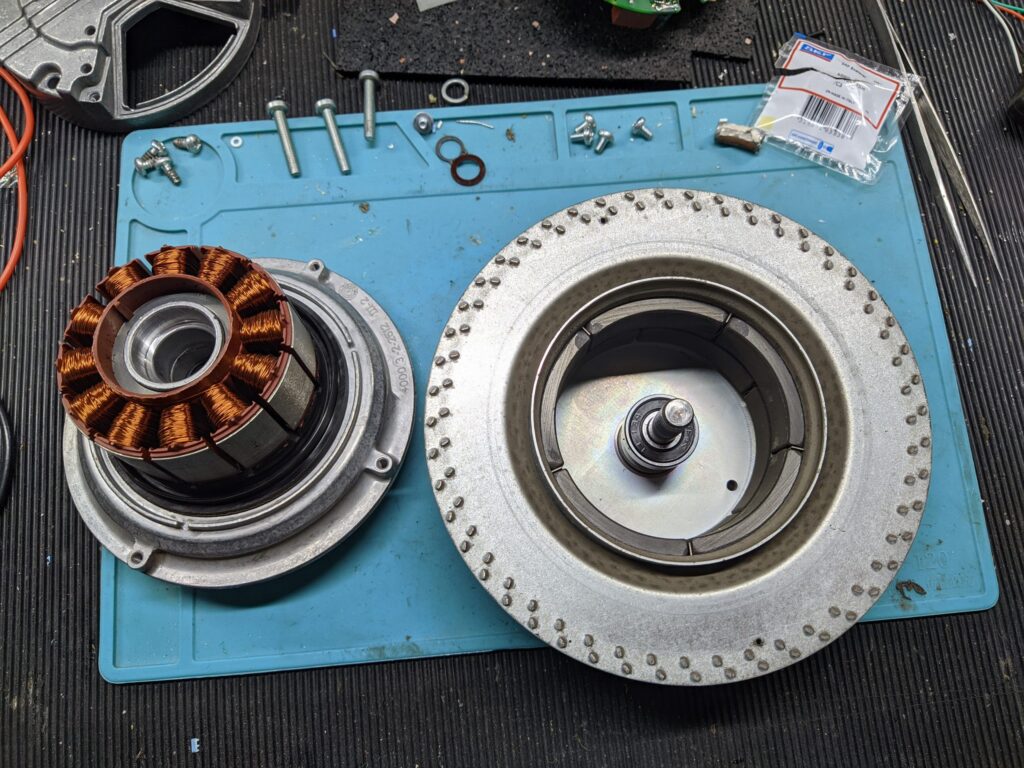
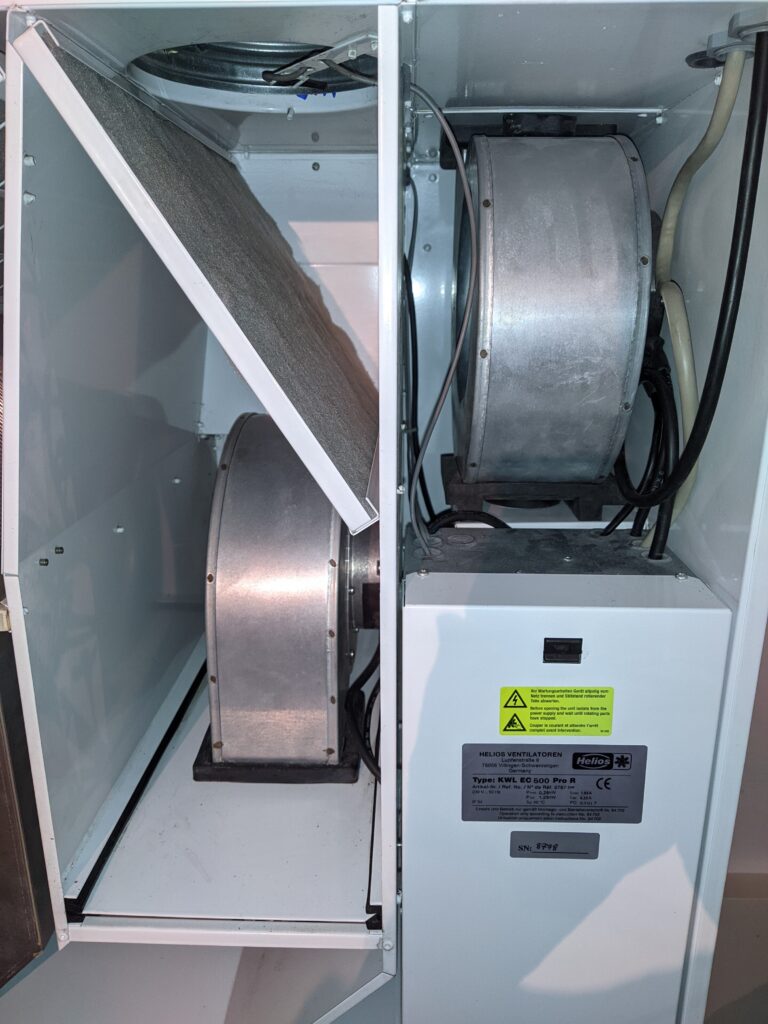
After running for over 9 years, 7/7 and 24/24, my Helios KWL EC 500 Pro started to make more and more noise. It was especially noticeable at night, even at a lower speed. Clearly, the motors were the culprits, and since they are brushless motors, the ball bearings were for sure at the end of their lives. I removed one of the motors, read the reference number, and found a very nice video on YouTube explaining how to change the ball bearings on a similar model. The reference of the motors for my KWL EC 500 Pro is R3G160-AC50-12. The ball bearings are the same as in the YouTube video. I ordered 4x SKF 6000-2RSH/C3 from brw.ch and after a few hours of work, my KWL is running silently like on the very first day.
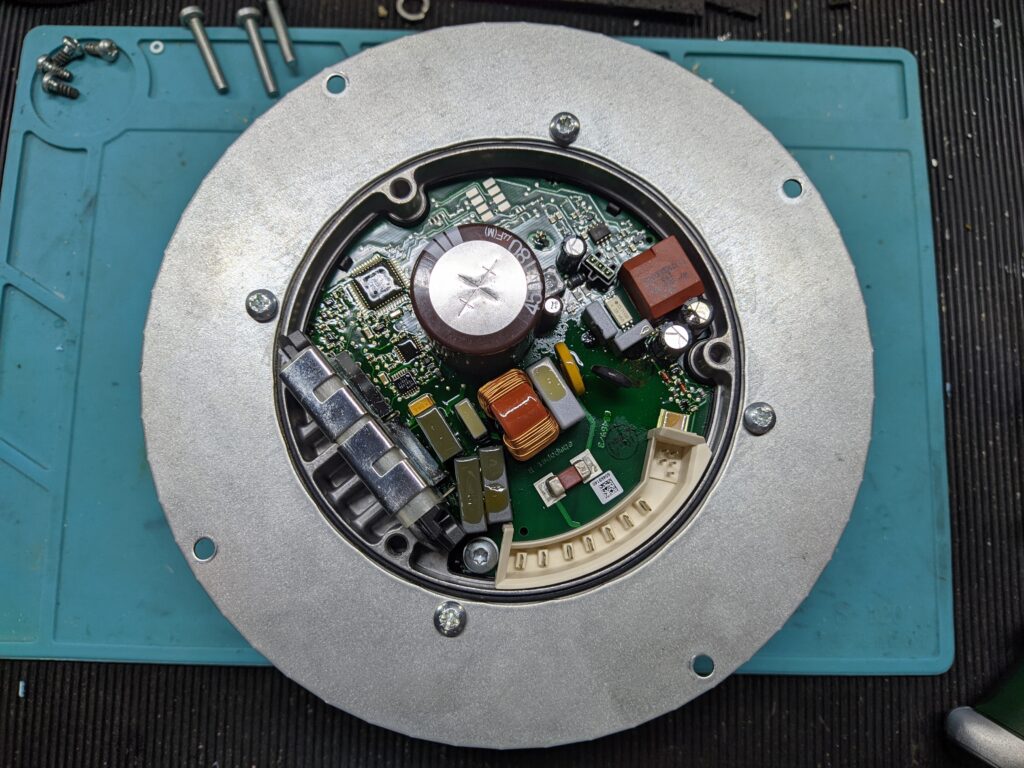
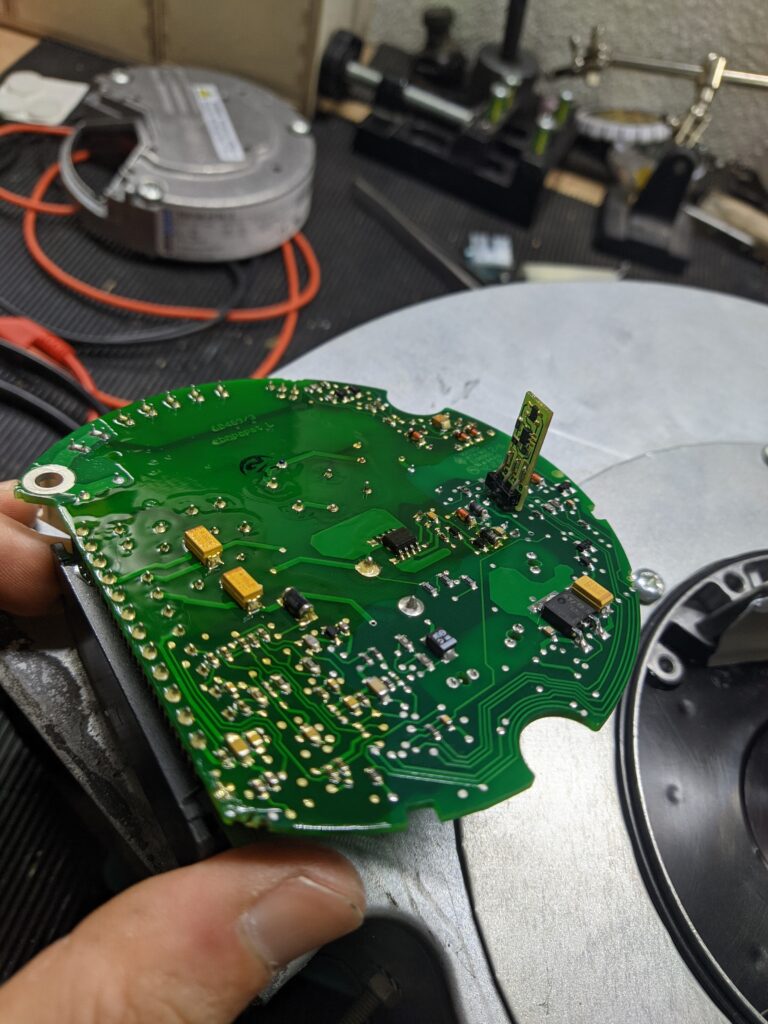
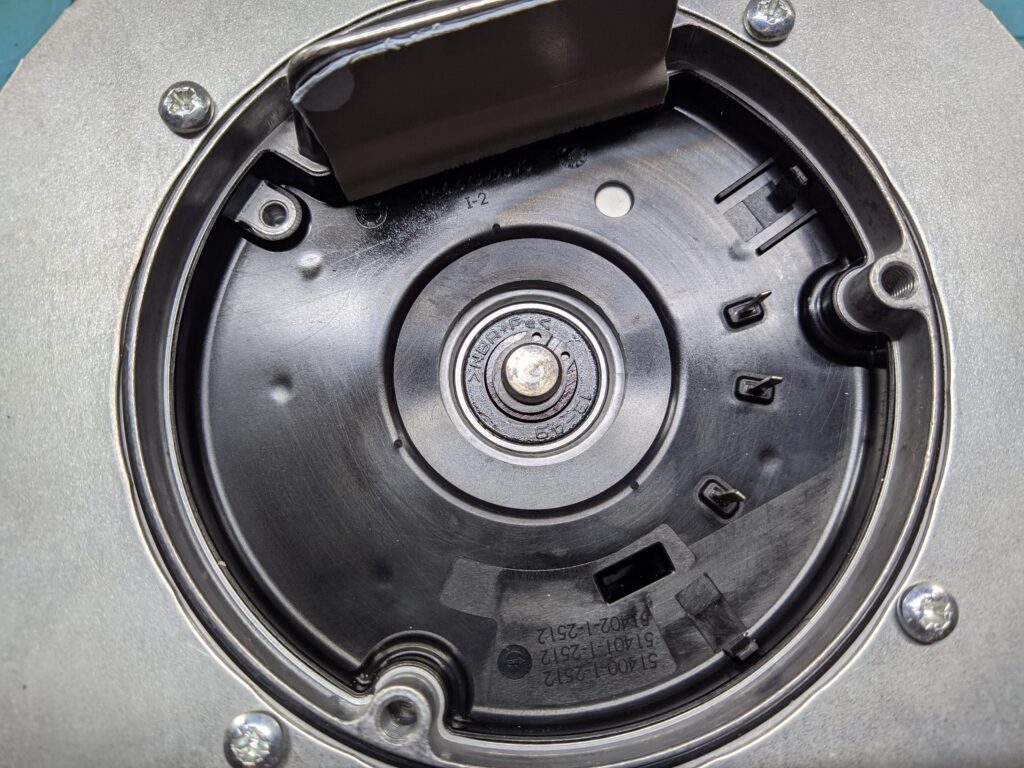
Motor from ebmpapst.Carefully remove the electronic part.Be very careful with the RPM sensorNow, we have access to the interesting parts.Separating the rotor from the stator is the most complicated part. You will need the appropriate tools (see the YouTube video).Everything back in place in my KWL EC 500 Pro
I have 36 solar panels on my roof and a Fronius Symo 10.0-3-M inverter for a bit more than a year and I really enjoy watching the statistics. Since the system also has a smart meter, I can see production but also power consumption. In order to make everyone at home aware of our energy production and consumption, I decided to build this:
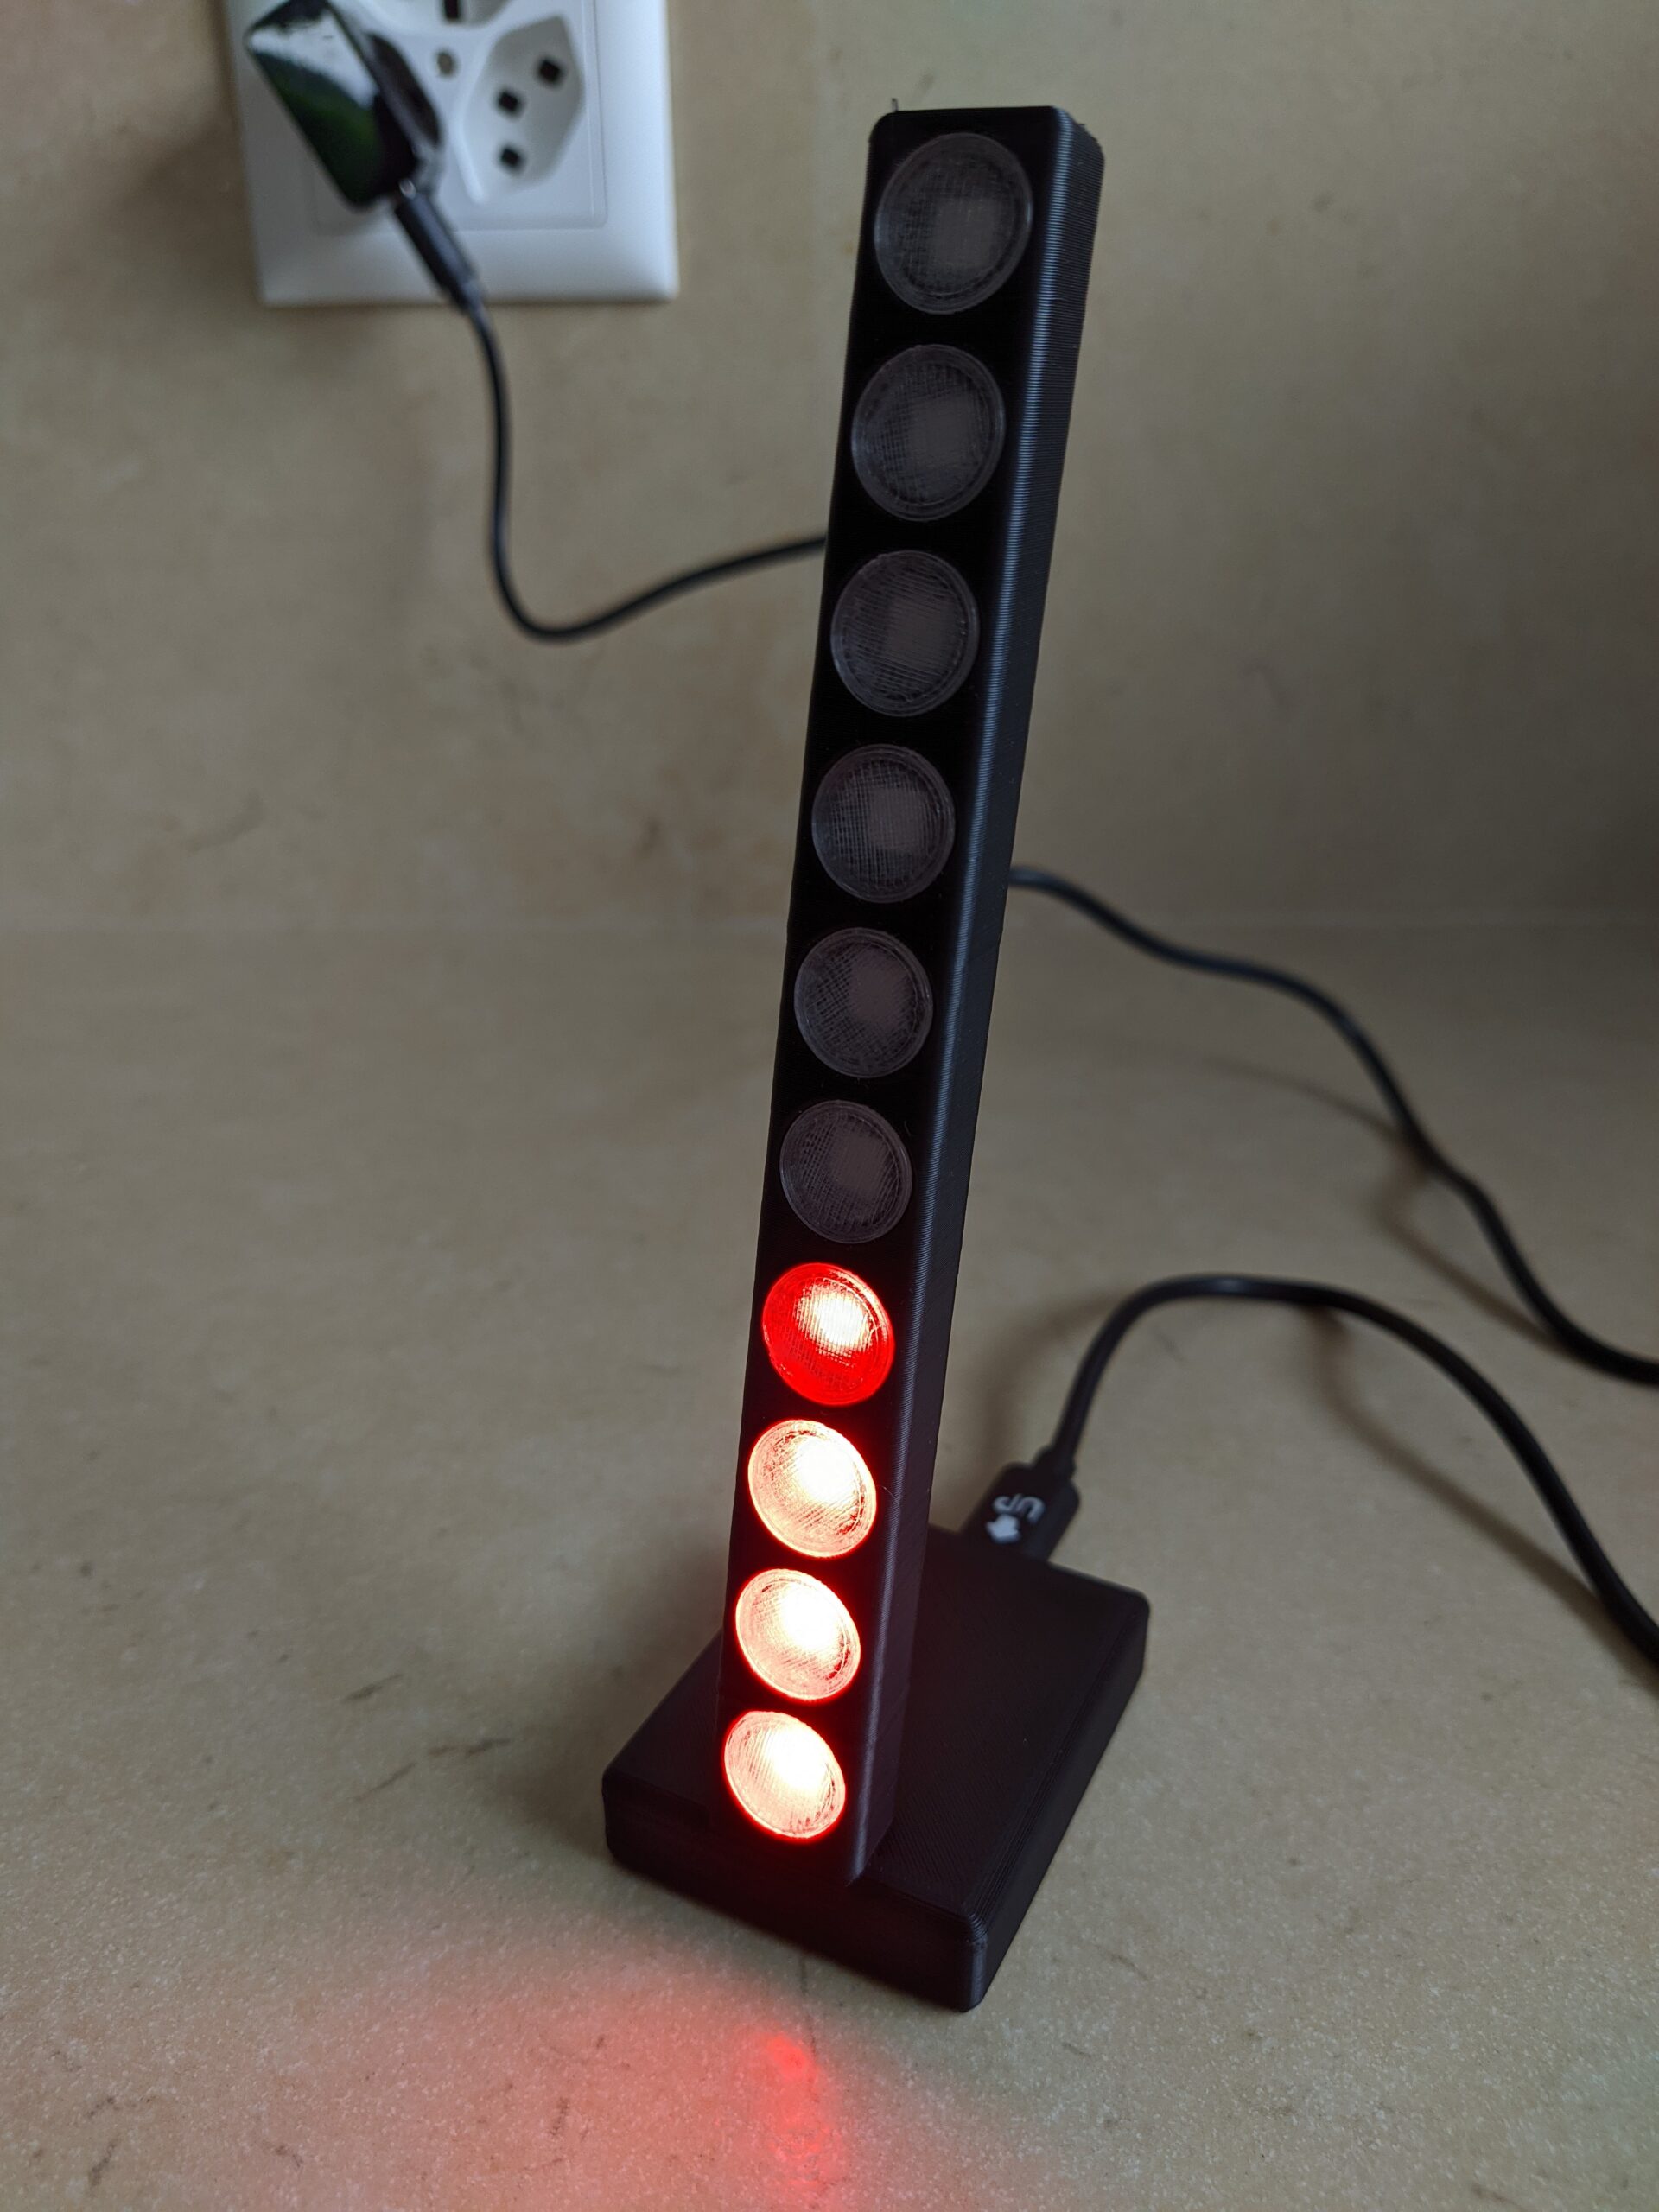
Led bar graph for Fronius Symo
This is a led bar graph that displays our current power to the grid data. In case we produce more than we consume, the led will get green. If we buy energy from the grid, the leds turn red. The more leds are on, the more energy we import (or export). The data is refreshed every 3 seconds so you can watch the effect of turning devices on and off (e.g. oven, hair dryer, coffee machine, etc) pretty clearly. The game is to try to get as much green as possible and avoid red.
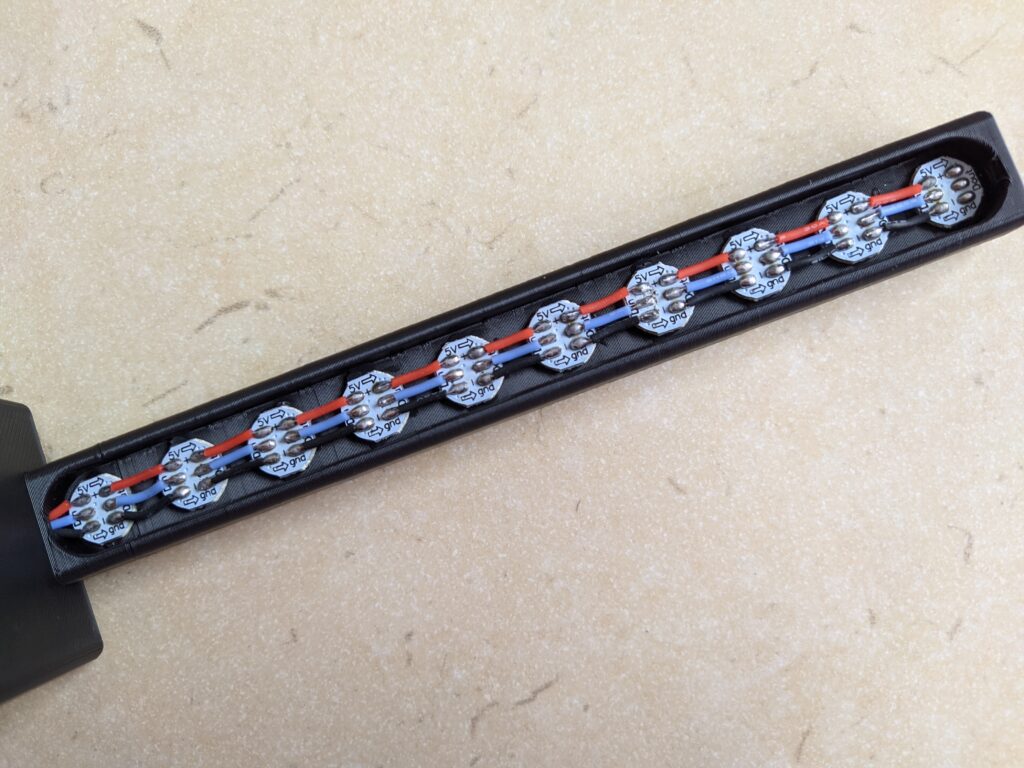
I 3d-printed the stand in PLA and the led covers in transparent PETG. I used Onshape to design everything. I had still a bunch of WS2812 from another project so I reused them:
WS2812
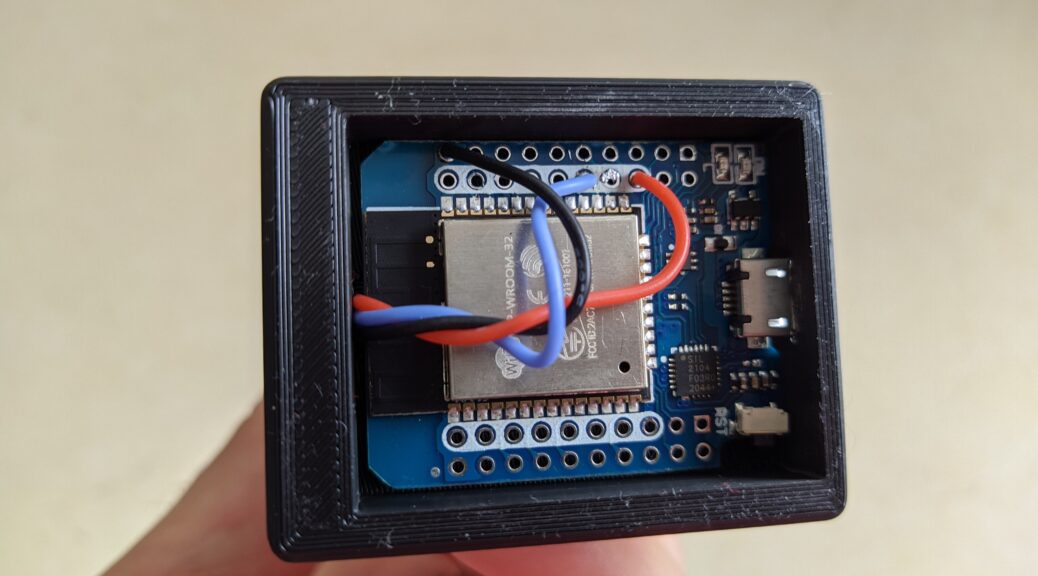
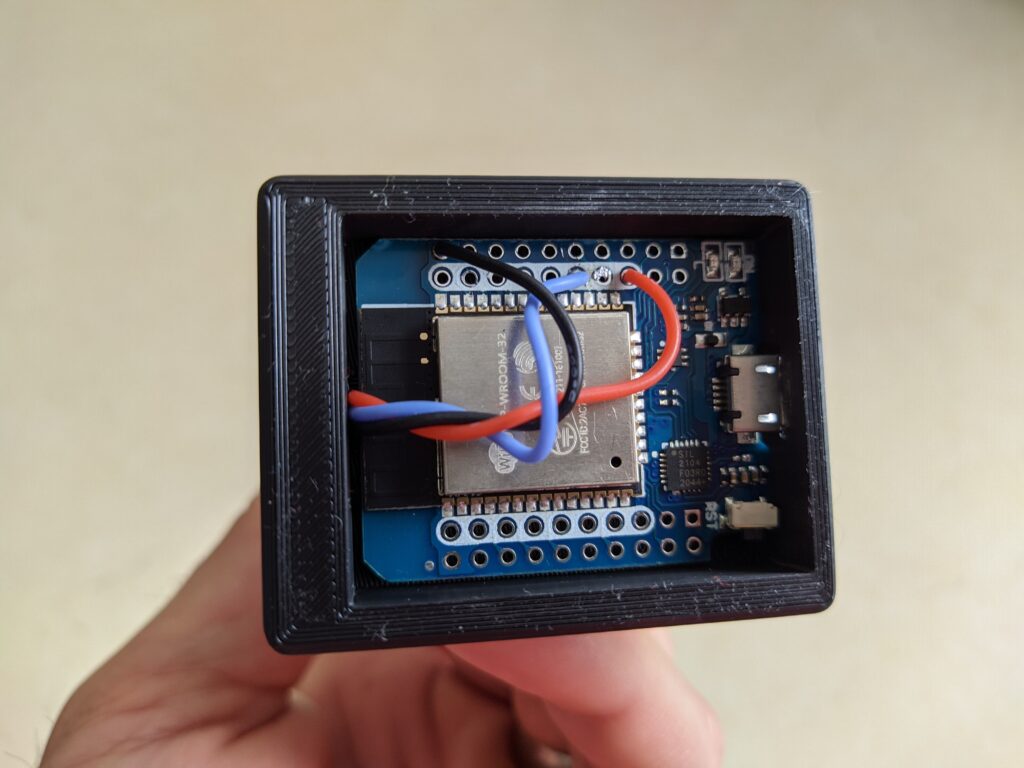
I ordered a few Wemos MINI D1 ESP32 from ebay.com. The ESP32 platform is great because you get WiFi and some neat processing power in a cheap and small device. Perfect for that project. Even though the GPIO are 3.3V, I didn’t encounter any problem with the WS2812 (powered from a VCC 5V pin). I also did not bother putting a capacitor to smooth voltage peaks since I only have 10 leds and the wires are short enough.
Wemos MINI D1 ESP32
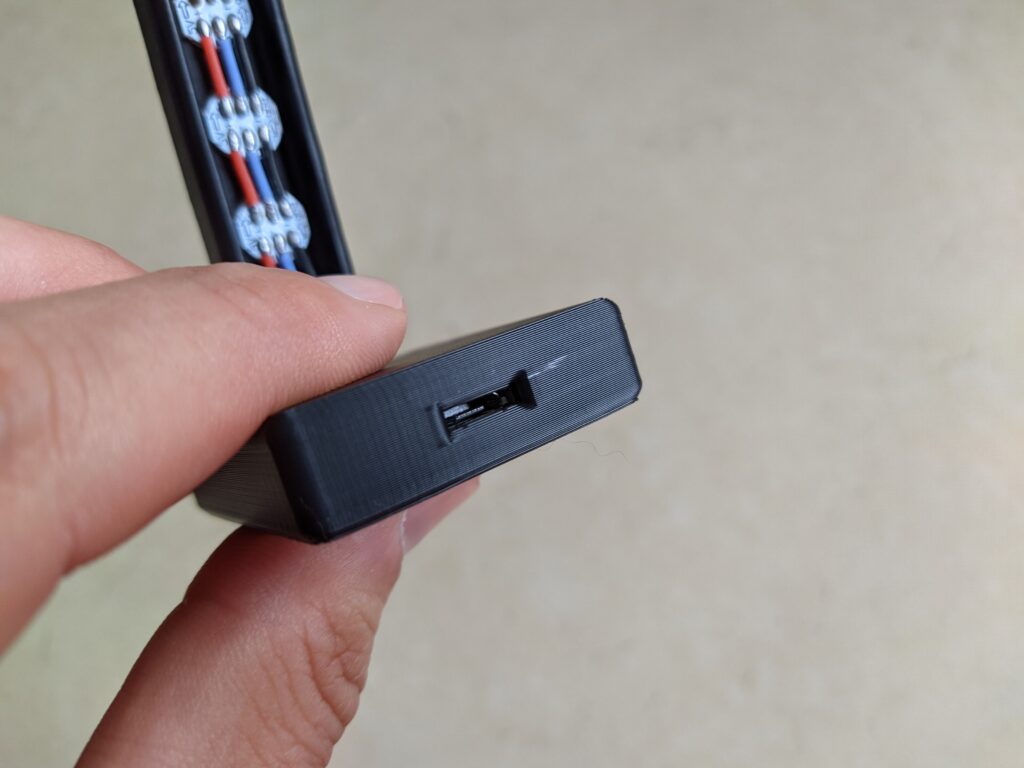
I designed the stand so that I can directly use the micro USB connector to power the system:
Powered via micro USB
I wrote the code using VSCode and PlatformIO, my go-to development stack for small projects of this kind. My solar inverter has a JSON API. I already used that API for another project so it was pretty easy to get the required data. The ESP32 connect via WiFi to my IoT network and then to the inverter over HTTP. The data are polled every 3 seconds. I cannot get data much faster than this, probably due to HTTP download and JSON parsing times. I did not investigate this further since 3 seconds is good enough. I used the great FastLED to drive the WS2812. I added a few visual effects to make the thing look a bit nicer.
So far all the family really enjoy the device. I made a second one for my parents who have the same inverter. In case you want more information, feel free to contact me. I can provide STL files and code if needed.
I started buying flashlights a few months back. I started with an Astrolux FT03 which comes with Narsil installed. Anduril is another widespread firmware for flashlights with more features than Narsil. There is even Anduril2 in the work and I decided to install this version on my FT03.
A few weeks later, I decided to buy another smaller flashlight. Looking at reviews, the Sofirn SC31 Pro sounded like a great choice for me. It comes with Anduril. Since I had Anduril2 on my FT03, I looked at how to flash it on the SC31 Pro.
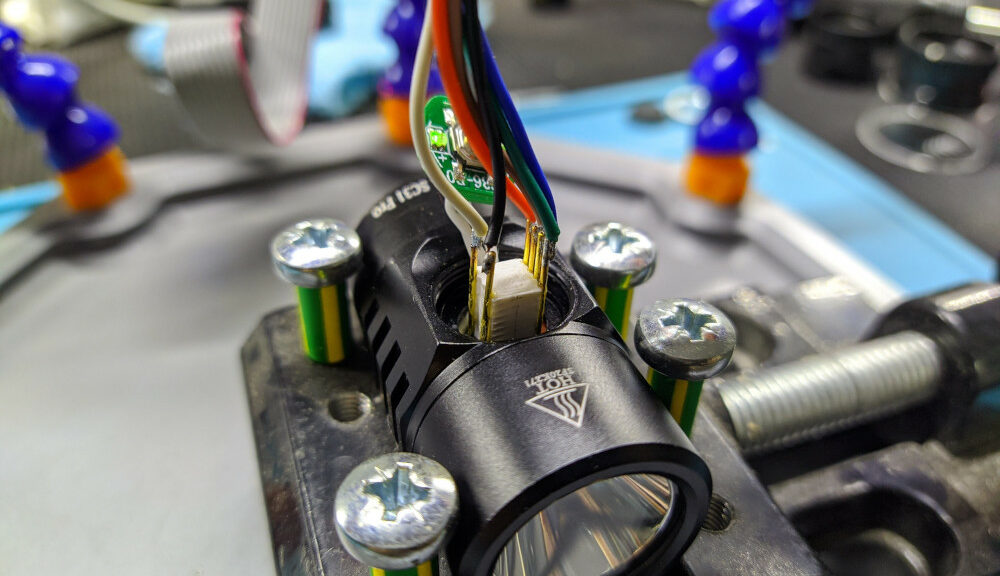
I found this post which sounded promising. As you can see here, you can access the ATTiny85 when removing the button. However, things are very very tight. Still, I decided to give it a try.
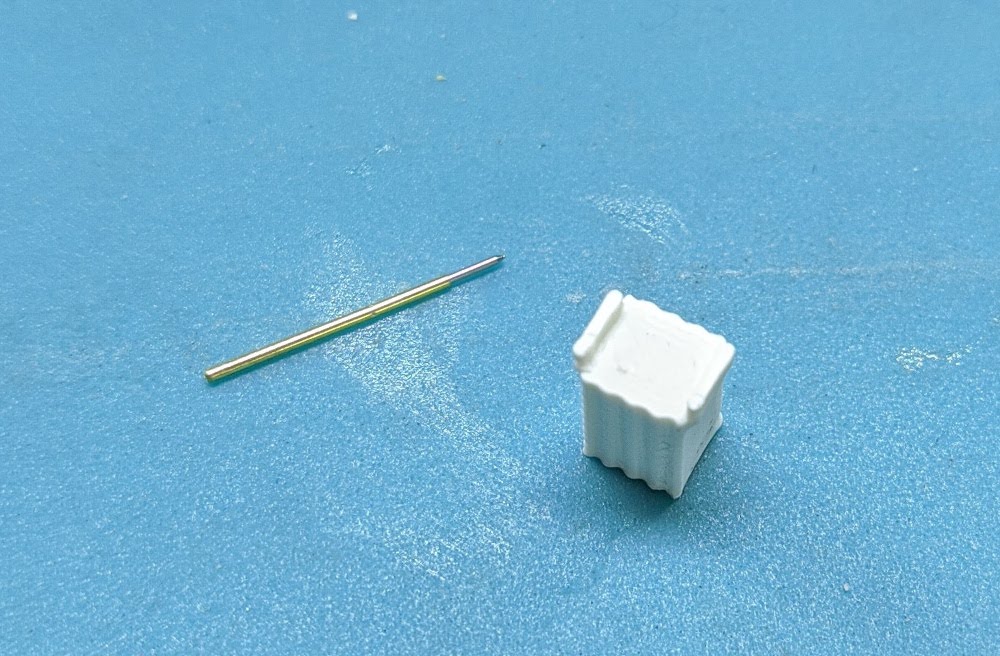
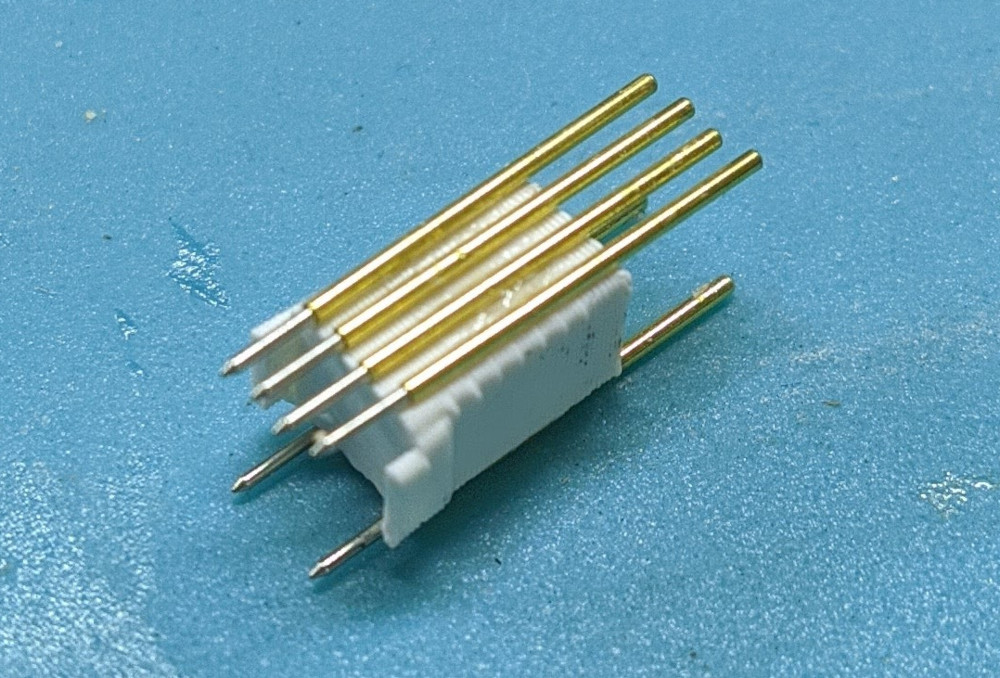
The resolution of my 3d printer is barely good enough to have something usable. But that did the trick. I glue the pogo pins with CA glue:
I then soldered wires to the pogo pins and installed the device on top of the ATTiny85. This was clearly the most critical part. My 3d print mount is not optimal and I had to hold it in place using the wires. I double checked visually that the pogo pins were not touching 2 pins and were more or less correctly placed.
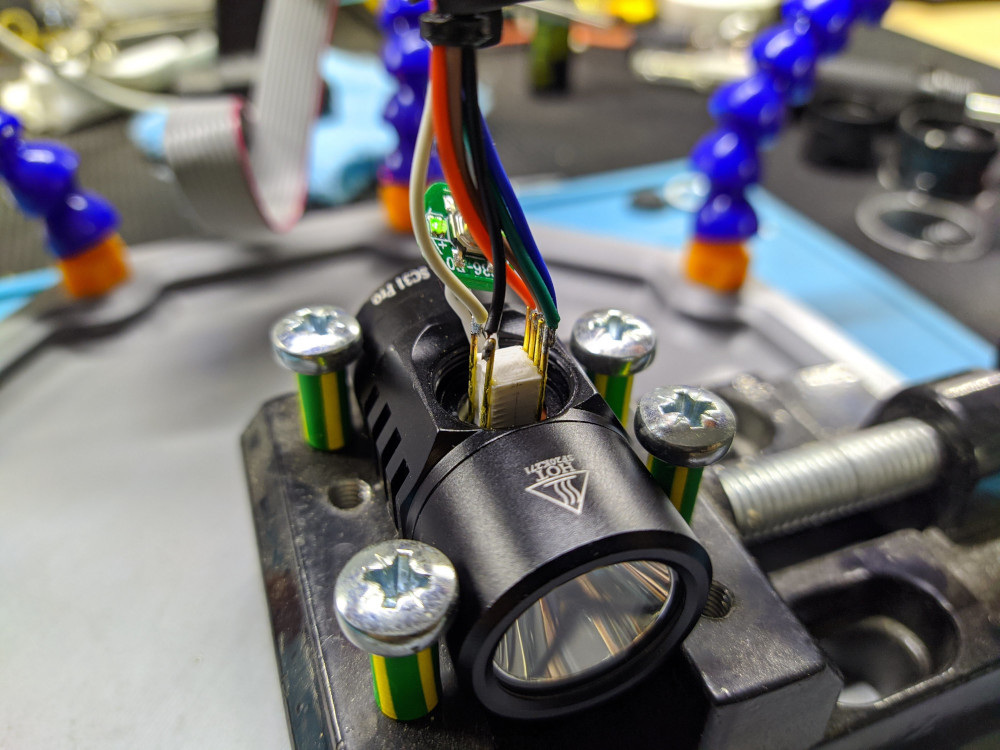
I plugged in my USBasp and could successfully access the ATTiny85 with avrdude. Flashing Anduril2 was then just a matter of a minute.
Based on the comments I found on budgetlightforum.com, Sofirn is using the same configuration for all its flashlights so I used cfg-sofirn-sp36.h to compile the firmware.
After flashing, I disconnected the USBasp, put in the battery and tested that everything was fine. I now have both my flashlights on Anduril2.
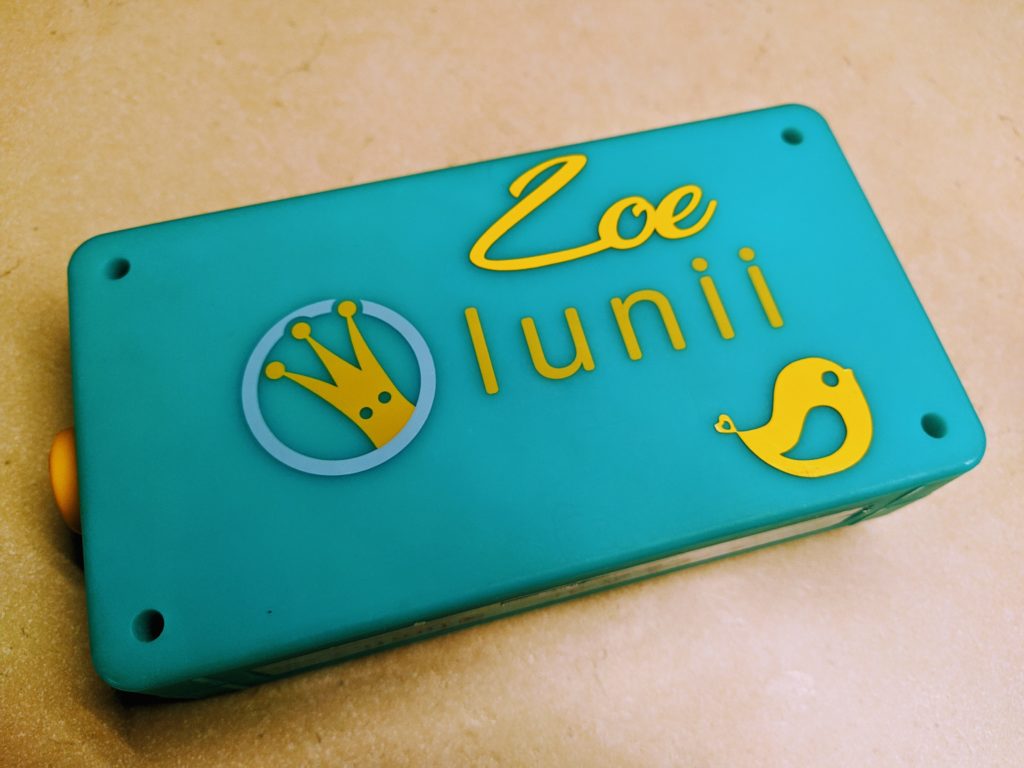
My daughters love their Lunii (Ma Fabrique à Histoires). They received them as a gift some years ago and still use them almost on a daily basis. The people at Lunii did an awesome job with this product. Furthermore, their software to buy and install new stories supports Linux which is a big plus for me. I had to open the boxes a few times to fix the volume knob and just because I was curious to see how it was made.
Customized Lunii
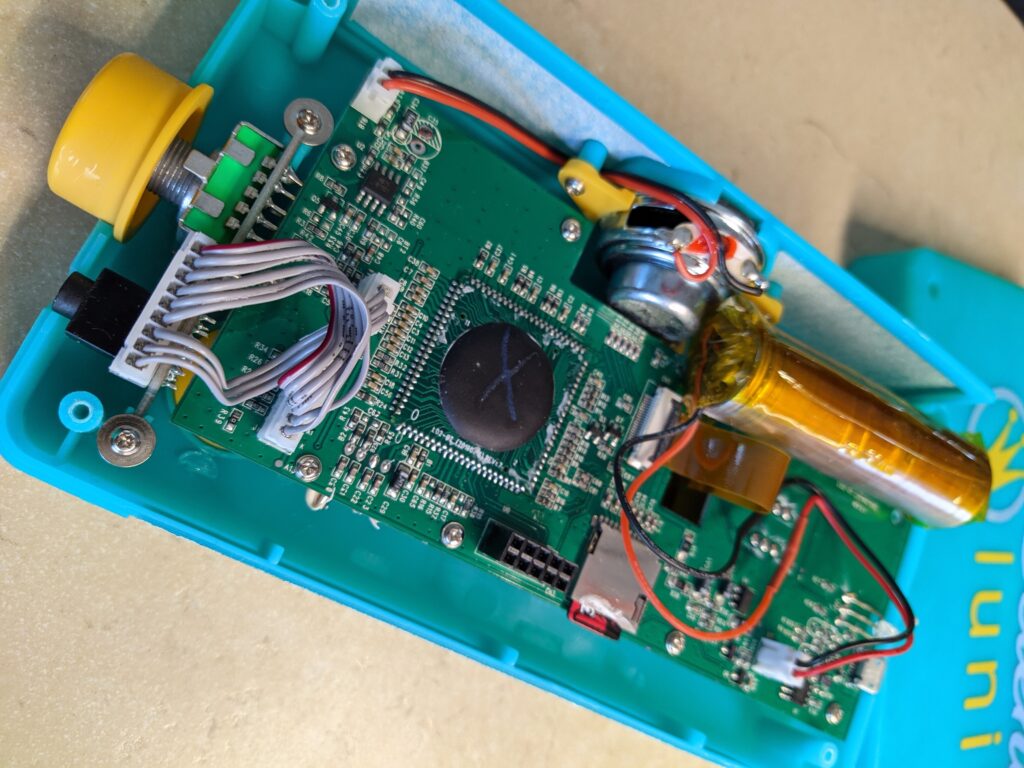
I have a few 18650 Li-Ion batteries at home and this evening I decided to try to replace the original battery with one of those. The 18650 fits without any modifications to the casing but it’s a tight fit. I used a protection circuit (undervoltage and overcharging protection) since the original battery has one and to be on the safe side.
The original battery is labeled as 500mAh. The 18650 I put in is at least a 2000mAh so that should be around 4 times more battery life. The Lunii is charging at the moment, I’ll report after a few days of use if it works as expected or not.
Inside a Lunii
UPDATE: after several months of use, I can report that the Liion cell is working great as expected. I did not measure how long the Lunii lasts with this battery but it is clearly much longer than before.